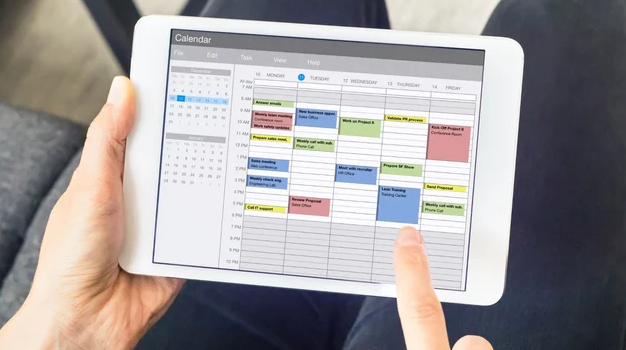
To outlook shared calendar, right-click the calendar and select Sharing and Permissions. In the Sharing dialog box, choose the appropriate permission level for each person with whom you want to share the calendar.
To add a person from outside your organization, search for the user’s name or NetID in the Add Users field.
Shared Calendars
A shared calendar in Outlook can make it easy to see when you’re available to meet with others. This can help prevent scheduling conflicts. Shared calendars can be created and viewed in a variety of ways, depending on whether you use an Exchange Server account within your organization or a private POP3 or IMAP email account.
To share a calendar with someone, click the calendar icon in the bottom toolbar. Then choose the name of the calendar you want to share and select the folder where you want to place it. You can also give the calendar a description.
Then choose the recipients and specify the level of access they should have; ranging from viewing only to editing the entire calendar. Click Send and an invitation email will be sent to the recipients. If the recipient already has an Outlook calendar, they can accept the invitation and add the new calendar to their own. Otherwise, they can click the Open this calendar in Outlook button to view the ICS file in a new window.
Creating a Shared Calendar
When you create a shared calendar, the recipients will receive an email invitation to view and edit it in Outlook. To set the permissions for the new calendar, right click on it and select Permissions.
Shared calendars are helpful for teams and individuals as they allow members to schedule meetings with others. They also make it easier for everyone to keep track of important dates, deadlines and other events. In addition, shared calendars sync with other devices and platforms so that information is always up-to-date.
To create a shared calendar, click on the Calendar icon in the Navigation pane. In the new window, enter a name for the calendar and select if you want to create an empty calendar or a template-based calendar. You can also select a folder for the calendar. In the Add People dialog box, enter the email addresses of the people with whom you want to share the calendar. Select the permission level that you want for each person: Can only view when I’m busy, Can see details, Can make changes and manage sharing or Can change and delete items.
Sharing a Shared Calendar
If you can’t share your calendar, there are a few possible reasons: Permission Issues: There could be IT-imposed restrictions that prevent you from sharing your calendar. Outdated Software: If you’re using an outdated version of Outlook, this can also prevent you from sharing your calendar.
You can share a calendar by publishing it to a web page, sending it in an email, or sharing it directly with other people. The method you choose will depend on your specific needs.
Once you have shared a calendar, the recipients can view it in their own Outlook by accepting the invitation or manually adding it. The recipients can see the status of their permissions in the Calendar Properties window, which is accessible by right-clicking on a calendar and selecting Calendar Permissions. This allows you to see a full list of everyone who has been granted access to your calendar and their permission level. You can also revoke permissions at any time.
Permissions
Depending on the level of access granted to you, you can view multiple calendars side-by-side in your Outlook display. To set permissions, right-click your default calendar and select Sharing Permissions from the menu (or click the Home tab, then Share Calendar).
In the dialog box that appears, you can set a user’s permission levels to either Reviewer or Author. Reviewer gives the person read permission only, which means they can only see your availability. Author allows the user to view your availability and create appointments for you. Delegate access is also available. Delegates can also receive meeting requests sent to you and act on your behalf.
You can change the Default view to Free/Busy time, and then select Apply (this is the default that other people will see when they look at your calendar). You can also remove users from your list of permissions, as well as revoke your own privileges to access other people’s calendars.
